EEECS Git Gui Guidance
Git Gui
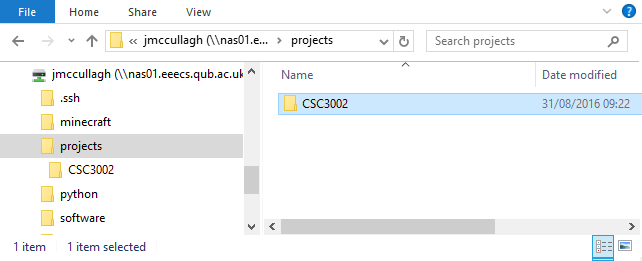
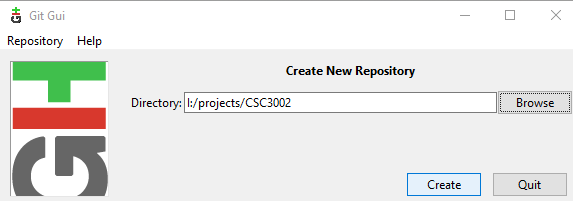
Git Gui is installed alongside git when you install it on your computer. Git Gui is already installed on the EEECS lab computers.To get started create a folder on your EEECS I: drive for your project. In the example below I have created a folder
i:\projects\CSC3002
Open the Git Gui program from your computer start button or application launcher.
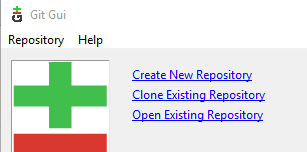
Git makes extensive use of an open technology called SSH and SSH Keys. We will need to create an SSH key so that we can make the best use of Gitlab.
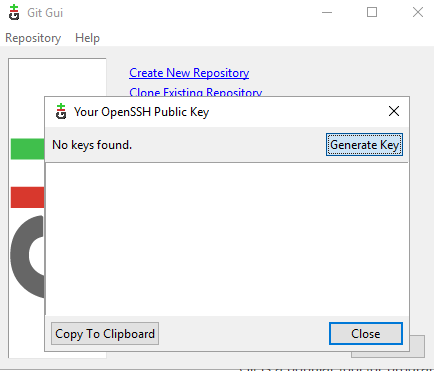
From the menubar click Help » Show SSh Key

If this is the first time you have used Git Gui there will be no keys found so click the 'Generate Key' button:
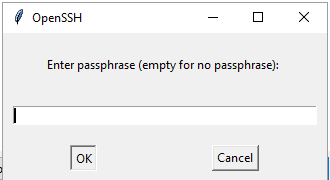
You will be asked if you want to use a passphrase with your SSH key - just click the OK button with no passphrase:
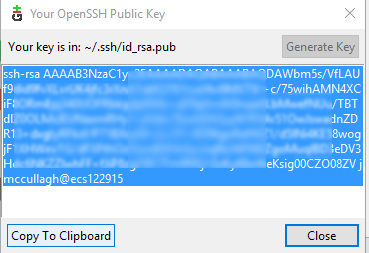
Your SSH key will be generated and you should copy it using the Copy to Clipboard button.
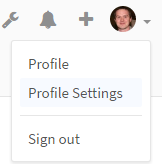
Next visit the Gitlab service in your web browser and after logging in click the Profile icon at the top right and choose Profile Settings:
Visit the SSH Heys tab and paste the SSH key you previously generated into the space provided. Give the SSH Key a name so you will know which computer it was generated on:
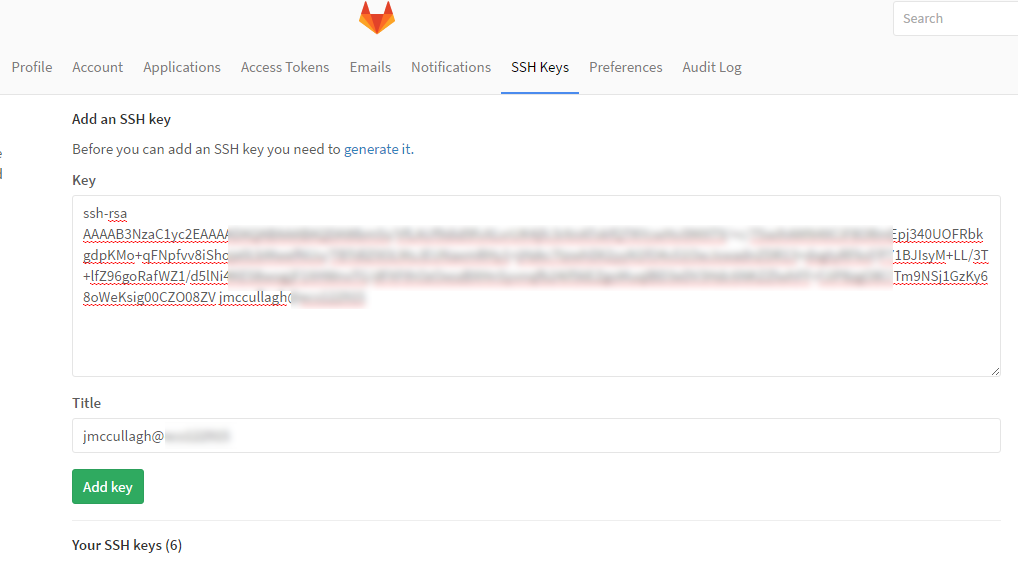
Now Gitlab is aware of your SSH Key and will not prompt you for a username and password when you try to save your code up to the Gitlab repository from your computer.
Back in the Git Gui program window click the option to 'Create New Repository' as shown below:

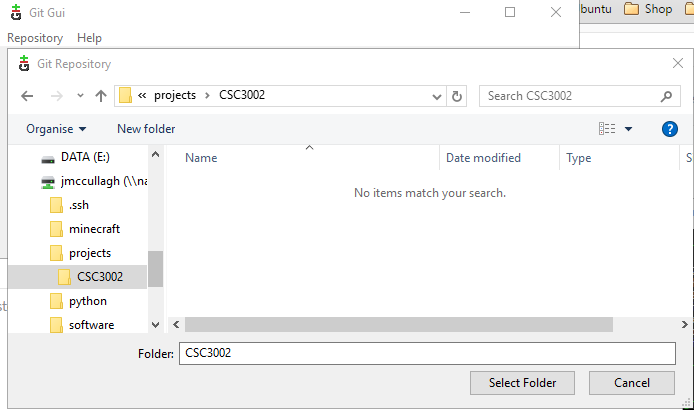
Next click the 'Browse' button: Then locate the folder you created on your EEECS I: drive by clicking the 'Browse' button:

When you locate the folder on your local computer that you want to use click the 'Select Folder' button:
and next click the 'Create' button:
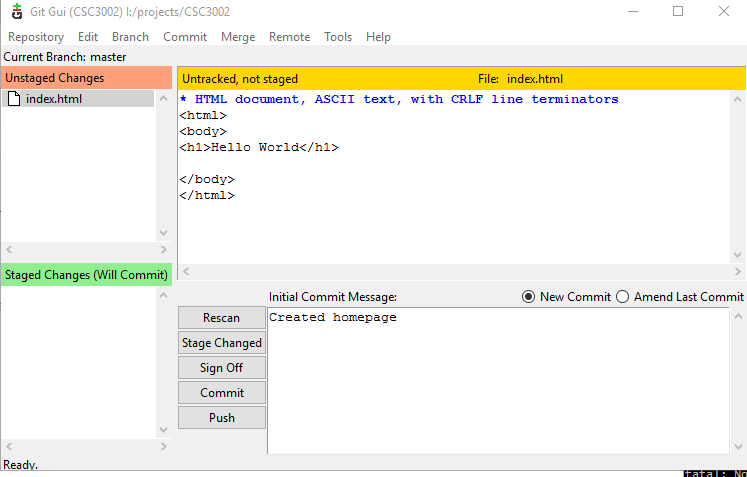
You may start creating the files inside your project folder. In the example here I have created one file named 'index.html'. The Git Gui should show that the file is not currently tracked and changes are therefore 'unstaged', so any change we made needs to be 'committed'. If new files do not appear within the Gui try pressing the F5 button on your keyboard to 'rescan'.
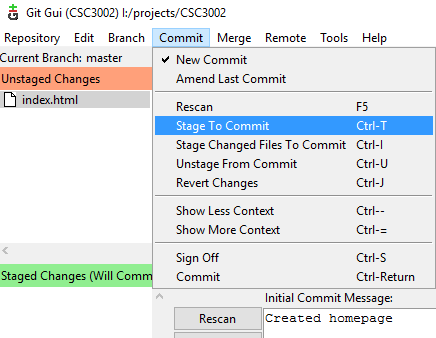
Use the menu to select the 'Stage To Commit' command:
Then click the 'commit' button:
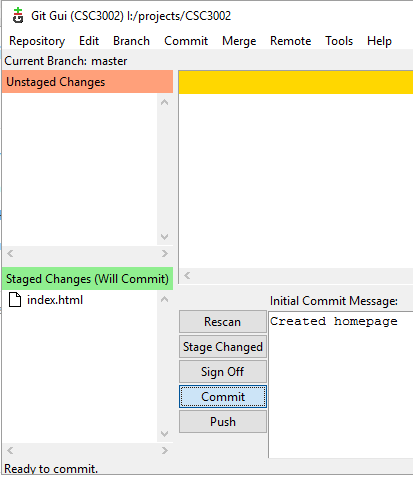
We are now ready to 'push' our commit to the remote repository i.e. the EEECS Gitlab service. So visit https://gitlab.eeecs.qub.ac.uk and click the plus button to create a new project. After creating your remote repository on the EEECS Gitlab service locate the address of the project'sand click the 'Copy to Clipboard' icon as shown below:
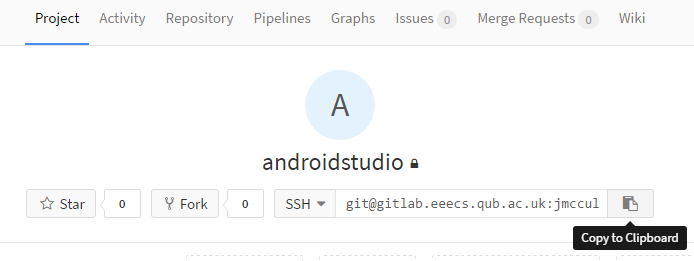
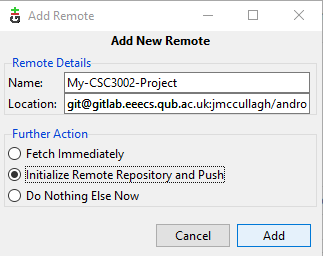
Return to the Git Gui tool and from the menubar choose 'Remote » Add ...'. Paste the address from the clipboard into the 'Location' field. Type a meaningful name into the 'Name' field and click the 'Add' button.
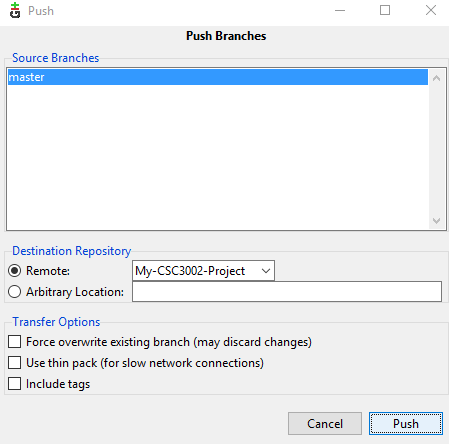
After defining the location of your remote Gitlab repository we need to 'push' the code up to it so from the menubar choose 'Remote » Push ...'
A confirmation dialog will be displayed confirming that you want to push your code into the main 'master' branch. Branches become more important later especially when working as a team but for now we will stick to using the master branch. Click the 'Push' button:
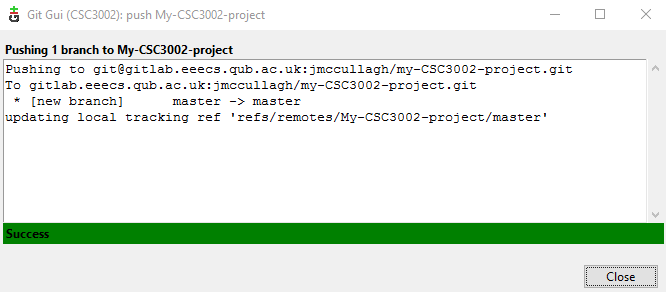
You should receive a success message indicating that your local code has been copied up to the remote Gitlab service. You can now browse the web interface of Gitlab to check everything is as it should be. After pushing code to a remote repository anyone else who needs to view, use or modify your code can do so. If your Gitlab project is private you would need to add other users as members of the project.
You can continue to improve your code and at each milestone or after adding features ensure to do a commit and a push to the remote.
